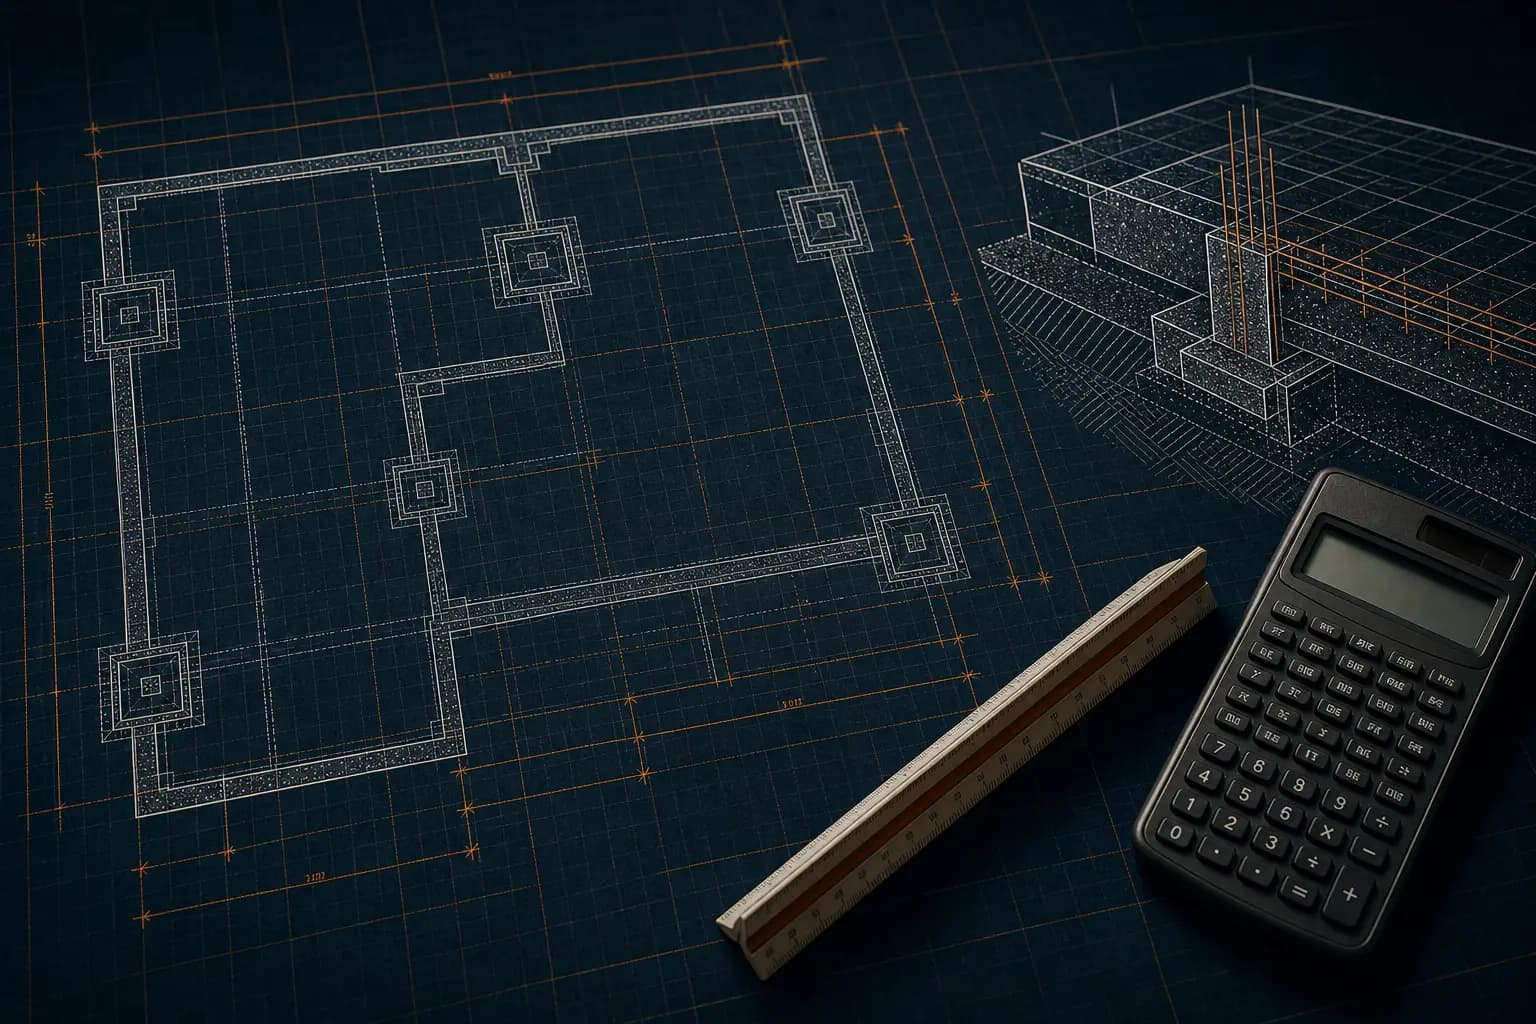
How to Do a Concrete Takeoff
A concrete takeoff turns the dimensions on a set of drawings into the cubic yards of concrete, the pounds of rebar, and the square feet of form contact you have to buy. The core math is one formula: length in feet times width in feet times thickness in feet, divided by 27. That divisor is just the number of cubic feet in a cubic yard.
If your thickness is in inches, which it almost always is, use this instead and skip a conversion step:
Cubic yards = Length (ft) x Width (ft) x Thickness (in) / 324
That 324 is 27 cubic feet per yard times 12 inches per foot. A 40 ft by 60 ft slab at 5 inches works out to 40 x 60 x 5 / 324 = 37.0 cubic yards before overage. Everything past that formula is bookkeeping: break the job into shapes the formula can handle, measure each one, total them by mix design, then add overage for the concrete that ends up somewhere other than inside your forms.
What You Are Actually Quantifying
A concrete takeoff is five separate counts, and they do not share units:
- -Concrete volume in cubic yards, broken out by mix design and by pour
- -Reinforcing steel in linear feet, then converted to pounds or tons
- -Formwork in square feet of contact area, the surface the wet concrete touches
- -Accessories as counts: anchor bolts, dowels, chairs, hold-downs, vapor retarder, expansion joint, sleeves
- -Finish area in square feet, because a broom finish and a hard trowel with a densifier are not the same sell
Keep them on separate lines. Estimators who roll formwork into a per-yard number lose the ability to price an unusual job, because form contact area does not scale with volume. A 12 inch thick wall and an 8 inch thick wall of the same height and length have identical form area and very different yardage.
Work in Pour Order, Not Sheet Order
Measure the way the job gets built: footings, then stem walls or foundation walls, then slab on grade, then flatwork, then anything elevated. This does two things. It groups quantities by the truck that will actually show up, so your takeoff doubles as your order sheet. And it surfaces the pours where two mix designs meet, which is where scope gets lost.
Separate by Mix Design and Strength
Before you total anything, sort by what the specs call for. Footings, slabs, and exterior flatwork frequently carry different compressive strengths, different aggregate sizes, and different air entrainment. Exterior flatwork in a freeze-thaw climate usually calls for air entrainment that interior slabs do not. If you total 200 yards and the specs actually describe three mixes, you have one number and three prices, and you will find out which one on invoice day.
Read the Structural Drawings, Not the Architectural
Architectural sheets show you where concrete is. Structural sheets tell you how thick, how reinforced, and how deep. The footing schedule, the slab schedule, and the typical details carry the dimensions that drive your yardage. When the architectural plan and the structural detail disagree, the structural detail governs, and if the difference is material you write an RFI rather than pick one.
Get the Geometry Into Shapes
Every concrete element reduces to a prism, a cylinder, or a sum of them:
- -Slabs, footings, walls, grade beams, and curbs are rectangular prisms
- -Piers, caissons, and post holes are cylinders: radius squared x 3.1416 x depth
- -Stairs are a stack of prisms, or a triangular wedge plus the landing
- -Thickened edges and turndowns are a prism hanging below a slab
Decompose, measure, total. The discipline is making sure no shape gets counted twice where two of them meet.
Slabs and Flatwork
Slabs are the easiest volume to calculate and the easiest to get wrong, because the error is never in the length and width. It is in the thickness, and thickness is set by whoever graded the subbase.
The Per-100-Square-Foot Reference
This table is straight arithmetic and it is worth memorizing. It converts slab area to yardage without a calculator:
- -3 inch: 0.93 CY per 100 SF, or 108 SF per cubic yard
- -4 inch: 1.23 CY per 100 SF, or 81 SF per cubic yard
- -5 inch: 1.54 CY per 100 SF, or 65 SF per cubic yard
- -6 inch: 1.85 CY per 100 SF, or 54 SF per cubic yard
- -8 inch: 2.47 CY per 100 SF, or 40 SF per cubic yard
The fastest field check on a 4 inch slab is square feet divided by 81. A 1,500 SF slab is 1,500 / 81 = 18.5 cubic yards. Run that against your detailed takeoff. If the two disagree by more than a rounding difference, you measured something wrong.
Code Minimums Worth Knowing
Per the International Residential Code Section R506, a concrete slab-on-ground floor has to be a minimum of 3 1/2 inches thick. R506.2.2 calls for a 4 inch thick base course of clean graded sand, gravel, crushed stone, crushed concrete, or slag where the slab is below grade, with an exception for well-drained sand-gravel soils. R506.2.3 requires a minimum 10 mil vapor retarder meeting ASTM E1745 Class A with joints lapped at least 6 inches, and it exempts garages, unheated accessory structures, and exterior flatwork like driveways, walks, and patios.
Those are minimums, not your scope. The structural drawings can and often do call for more. But knowing the code floor tells you when a plan note looks wrong, and the vapor retarder exemptions tell you which slabs on your job need one and which do not, which is a real line item you can lose.
Thickness Is the Whole Ballgame
Here is the sensitivity that surprises people. Adding a quarter inch of depth across 1,000 SF is 20.8 cubic feet, or about 0.77 cubic yards. On a 4 inch slab, an extra half inch is a 12.5 percent volume increase. You did not change the slab. The grading crew did.
A contractor on ContractorTalk who ran laser box blades on commercial subgrades described holding plus or minus 0.01 foot, roughly an eighth of an inch, across 40,000 SF of prep. Even at that tolerance, the slop alone is about 14 cubic yards of concrete. That is the single best argument for treating your subbase contractor's tolerance as an input to your concrete number rather than someone else's problem.
Deductions and Additions
Work through the slab plan and adjust for:
- -Deduct floor openings, stair openings, elevator pits, and equipment pads poured separately
- -Deduct columns and column blockouts that pass through the slab
- -Add thickened edges, turndowns, and interior thickened strips under bearing walls
- -Add depressed slabs poured back to finish grade, and ramps
- -Add equipment pads, housekeeping pads, and curbs if they are in your scope
On small openings, use judgment. Deducting a 12 inch sleeve from a 3,000 SF slab is noise you will lose in overage. Deducting a 10 ft by 12 ft stair opening is real money.
Thickened Edges Without Double Counting
This is the classic double count. You already counted the full slab area at slab thickness. So for a turndown, only count the concrete that hangs below the bottom of the slab.
A 12 inch wide by 12 inch deep turndown under a 4 inch slab adds 8 inches of depth below the slab bottom, 12 inches wide. Per linear foot that is (12/12) x (8/12) = 0.667 cubic feet. Across 200 LF of perimeter that is 133 CF, or 4.9 cubic yards. If you instead calculate the turndown as a full 12 by 12 prism, you charge the top 4 inches twice.
Flatwork Is Priced on Finish, Not Just Yardage
Driveways, walks, patios, and curb work carry more finishing labor per yard than a big interior slab, because the edge-to-area ratio is brutal. Your yardage takeoff should be accompanied by linear feet of edge form, linear feet of control joint or sawcut, and square feet by finish type. A 400 SF patio and 400 SF of a 20,000 SF warehouse floor are the same 5 cubic yards and nowhere near the same job.
Footings, Walls, and Piers
Foundation work is where takeoffs get sloppy, because the shapes are simple but the dimensions come from a schedule most estimators skim.
Continuous Footings
Footings are usually dimensioned in inches for width and depth and in feet for run, which means two conversions. Here is a shortcut that removes both:
Cubic yards = Length (ft) x Width (in) x Depth (in) / 3888
That divisor is 27 x 144. A 180 LF footing at 20 inches wide and 10 inches deep is 180 x 20 x 10 / 3888 = 9.3 cubic yards. Check it the long way: 180 x 1.667 x 0.833 = 250 CF, divided by 27 is 9.26. Same answer, two fewer steps.
Measure footing runs to the outside corners and then confirm whether your run length double counts at intersections. At a corner, the two runs overlap by the footing width. On a building with a lot of jogs, those overlaps add up.
Footing Sizes Come From the Schedule, Not From You
The IRC publishes prescriptive minimum footing sizes in Table R403.1(3). For light frame construction in a 25 to 30 psf ground snow load area, the 2018 IRC table gives a one story slab-on-grade a 12 inch wide by 6 inch thick footing, a one story with crawl space 13 by 6, and a one story with basement 19 by 6. Two story goes to 12 by 6, 17 by 6, and 23 by 6 for the same three cases. The table also carries a scaling rule: for structures wider than 32 feet, add 2 inches of footing width and 1 inch of thickness for every 2 feet beyond 32.
Use the table to sanity check a plan, not to replace it. On any engineered job the footing schedule on the structural sheets governs, and it will frequently be larger than the prescriptive minimum.
Foundation and Stem Walls
Walls are length times height times thickness. A 180 LF stem wall at 3 ft 6 in tall and 8 inches thick is 180 x 3.5 x 0.667 = 420 CF, or 15.6 cubic yards.
Two things to watch. First, deduct large openings but not small ones: a garage door opening in a stem wall is a real deduction, a 4 inch sleeve is not. Second, walls are where your formwork number gets big. Form contact area is length x height x 2 sides, so that same 180 LF wall at 3.5 ft tall is 1,260 square feet of contact area. Formwork is measured in SFCA, square feet of contact area, and on formed work it is often a larger cost driver than the concrete itself.
Piers, Piles, and Post Holes
Cylinders use radius squared times pi times depth. Watch the radius-versus-diameter trap, because a 24 inch pier has a 12 inch radius and using 24 gives you four times the concrete.
A 24 inch diameter pier 6 feet deep is 1 x 1 x 3.1416 x 6 = 18.85 CF, or 0.70 cubic yards each. Multiply by count. Piers are also the place where drilled holes rarely match nominal diameter, so they carry more overage than anything else on the job.
Formed Work Versus Cast Against Soil
This distinction drives your entire overage decision, so make it explicit in your takeoff. Formed elements have dimensions you control: columns, walls, beams, elevated slabs. What you draw is close to what you pour.
Elements cast directly against soil are a different animal. In a discussion of concrete overage on Eng-Tips, a structural engineer laid out exactly why bank pours run over. The layout line itself is a problem: the paint or chalk marking the excavation is one to two inches wide, and adding two inches to a 20 inch footing is ten percent right there. Footing widths rarely match standard backhoe and excavator bucket widths, so you commonly end up two to three inches wider than specified. Soil sloughs into the trench. Rain turns a planned two inch mudsill into a three inch one, because the bucket teeth are three inches. None of that shows up on the drawing, and all of it shows up on the invoice.
Note that the wider the footing, the smaller the percentage impact. Two extra inches on a 20 inch footing is 10 percent. Two extra inches on a 48 inch footing is about 4 percent. Your overage on soil-cast work should scale inversely with the size of the element.
Rebar and Reinforcement
Reinforcing steel is bought by weight and installed by the piece, so your takeoff has to produce both numbers.
Bar Sizes and Unit Weights
Rebar size designations are simply the number of eighths of an inch in the nominal bar diameter. A #4 bar is four eighths, or half an inch. A #8 is one inch. Per reinforcing bar data published by Dayton Superior, matching the ASTM nominal values:
- -#3: 0.375 in diameter, 0.11 sq in area, 0.376 lb per foot
- -#4: 0.500 in diameter, 0.20 sq in area, 0.668 lb per foot
- -#5: 0.625 in diameter, 0.31 sq in area, 1.043 lb per foot
- -#6: 0.750 in diameter, 0.44 sq in area, 1.502 lb per foot
- -#7: 0.875 in diameter, 0.60 sq in area, 2.044 lb per foot
- -#8: 1.000 in diameter, 0.79 sq in area, 2.670 lb per foot
- -#9: 1.128 in diameter, 1.00 sq in area, 3.400 lb per foot
- -#10: 1.270 in diameter, 1.27 sq in area, 4.303 lb per foot
- -#11: 1.410 in diameter, 1.56 sq in area, 5.313 lb per foot
Take off linear feet by bar size, multiply by the unit weight for pounds, divide by 2,000 for tons. Mills and fabricators price by the hundredweight or the ton, so the weight number is what you buy against, but the piece count is what tells you how many bundles show up and how long the tie crew is there.
Counting a Slab Grid
For bars at a given spacing across a span, the count is:
Number of bars = (Span in feet x 12 / Spacing in inches) + 1
The plus one matters. It is the bar at the far end, and dropping it is the most common counting error in a rebar takeoff.
For a 40 ft by 60 ft slab with #4 at 18 inches on center each way:
- -Bars running the 60 ft direction, spaced across 40 ft: (40 x 12 / 18) + 1 = 27.7, round to 28 bars x 60 ft = 1,680 LF
- -Bars running the 40 ft direction, spaced across 60 ft: (60 x 12 / 18) + 1 = 41 bars x 40 ft = 1,640 LF
- -Total 3,320 LF at 0.668 lb per foot = 2,218 lb, or about 1.11 tons before laps
Laps Are Not Optional and Not Free
Bar comes in standard lengths, commonly 20 and 60 feet. Any run longer than a stick needs a splice, and splices consume bar you have to buy.
The common field rule of thumb is a lap of 40 bar diameters, which is 20 inches for #4, 25 inches for #5, and 30 inches for #6. Treat that as a shortcut for quantity estimating only. ACI 318 calculates development and splice lengths based on concrete strength, bar coating, cover, and confinement, and the splice schedule on the structural drawings is what governs the actual job. If the schedule specifies laps, use those numbers, not the rule of thumb.
For quantity purposes, most estimators add 8 to 10 percent to total linear footage to cover laps and cut waste on typical slab and footing work. Runs much longer than a stick length push that higher. Compute it directly when the job is lap-heavy: a 60 ft run made from 20 ft sticks needs two laps at 20 inches each, which is 3.3 extra feet on 60, about 5.5 percent, before you add any cut waste.
Do Not Forget the Accessories
The steel is the obvious part. These are the lines that get left off:
- -Chairs, bolsters, and slab bolsters to hold bar at the right depth
- -Dowels at cold joints, and dowel caps where required
- -Corner bars and hooked bars at intersections
- -Tie wire, typically estimated per ton of steel
- -Anchor bolts, hold-downs, and embeds from the structural schedule
- -Welded wire reinforcement where it replaces bar, taken off by area plus sheet or roll overlap
IRC R506.2.4 is worth knowing on slab reinforcement: where reinforcement is provided in a slab on ground, it has to be supported so it stays between the center and the upper third of the slab through the whole placement. Rebar lying on the vapor barrier is a failed inspection and a callback, which means the chair count is a real line item and not a rounding error.
Hooks Add Length
Hooked bars are longer than the dimension shown. Dayton Superior publishes standard 90 degree hook detailing dimensions of 6 inches for #4, 7 inches for #5, and 8 inches for #6. On a foundation with hooks at every corner and intersection, that adds up into real footage.
Overage: How Much Extra to Order
Concrete people call it overage, not waste factor. There is no single correct number, and any source that gives you one without asking what you are pouring is guessing.
Price the Job and Order the Pour With Different Numbers
This is the most useful distinction in concrete estimating, and it came up directly in the Eng-Tips discussion on overage. Estimating the price of a job and ordering concrete for a specific pour are two different exercises.
When you are pricing a hard bid, you work from the theoretical dimensions on the drawings plus an overage allowance, because that is the only information that exists. When you are ordering for Tuesday's pour, you work from what is actually in the ground. If you bank poured a footing and you know it was over-excavated, you measure the average actual dimensions of the trench you are looking at and order against that, not against the detail.
Estimators who skip this end up carrying an overage percentage into the field as though it were a measurement, and then they are surprised in both directions.
Overage by Element Type
The practitioners in that same Eng-Tips thread converged on a pattern. One structural engineer used roughly 5 percent for columns, walls, and beams, where the forms fix the dimensions, and 7 to 10 percent for elevated slabs. Another reported using 10 to 15 percent on overall quantity for estimating purposes, but only about 5 percent when estimating a specific pour on site, because by then you can see the conditions.
The logic behind the spread is the one from the last section. Formed work has dimensions you control. Soil-cast work does not. A reasonable structure:
- -Formed vertical work - columns, walls, beams: lowest overage, the forms hold the dimension
- -Elevated slabs - deck deflection and thickness variation push this up somewhat
- -Slab on grade - depends almost entirely on how good your subgrade is
- -Footings and grade beams cast against soil - highest, and higher still on narrow footings
- -Drilled piers and fabric-formed footings - highest of all
On fabric footing forms specifically, a contractor on the Fine Homebuilding forum noted that the fabric bows and bulges as it fills, and used a 15 percent factor for that reason where normal forms needed nowhere near it.
What Real Pours Come In At
A contractor on ContractorTalk reported being 2 percent over on a 150 yard pour and considered that a good day. On a 90 yard pour with rougher prep, the same crew came in 4.5 percent over and the GC complained. Worth noting from that same thread: when he looked for an allowable overage in the project spec book, it was not specified at all. There is no published industry standard number that you can point a GC to.
Other contractors in the same discussion were blunter. One said he figures 10 percent on every pour he does, whether it is 2 yards or 200. Another reported his approach as rounding dimensions up to whole numbers, adding 10 percent, then rounding up to the nearest half yard.
That range, roughly 2 percent achieved on good prep to 10 or 15 percent carried on rough conditions, is the honest answer. Where you land inside it depends on your subgrade, your forms, and your crew.
Build Your Own Number
Percentages you copy from a guide are a starting point. Percentages you calculate from your own jobs are an estimating advantage. Track ordered yards against theoretical yards on every pour for a season, split by element type and by who did the grading. Most contractors who do this find their real overage is tighter than the rule of thumb on formed work and worse than the rule of thumb on bank pours, and they have been pricing both wrong in opposite directions.
Where the Concrete Actually Goes
Overage is not mysterious. It goes to specific, nameable places:
- -Over-excavated trench width, because the bucket is wider than the footing
- -Subgrade that is low by a fraction of an inch across a lot of square feet
- -Squeeze-out under forms and at the bottom of walls on rough ground
- -Concrete left in the pump line and hopper
- -Spillage at the chute and material stuck in the drum
- -Rounding up to the nearest quarter or half yard on the order
When you can name where it went, you can attack the parts worth attacking. Tightening subgrade tolerance is cheaper than buying concrete. Widening a footing to match your bucket is a conversation with the engineer that sometimes gets approved and saves real money.
Ordering the Pour
The takeoff produces a number. Turning that number into an order is a separate skill with its own traps, and it is where most of the avoidable money is lost.
Know Your Plant's Minimum Before You Need It
Ready-mix suppliers dispatch a full truck whether you buy a full load or not, so most charge a short-load surcharge below some threshold. The thresholds and the fees vary by plant and by market, so the answer is a phone call to your dispatcher rather than a number from a chart. Ask two questions: what is the minimum load before the surcharge kicks in, and what does the surcharge cost.
This matters most at the end of a pour. As one contractor put it on the Fine Homebuilding forum, if you come up a quarter yard short, you are not buying a quarter yard, because there is a two yard minimum to get another truck rolling. The cost of being slightly short is not the cost of the concrete you are missing. It is the cost of a truck, a surcharge, and a crew standing around while the first placement starts to set.
Feed the Pump
If you are pumping, the pump takes concrete that never reaches your forms. The line has to be primed and there is always material left in the hopper and boom at the end. Contractors on the Fine Homebuilding forum discussed this directly: pump operators may tell you it takes a quarter yard, but experienced contractors add a half yard, because a clogged line means mud on the ground and the hammer coming out.
Pump priming is its own line item, not part of your percentage overage. Add it as yards, once per pour, regardless of pour size.
The Hold Load
On a large pour you do not order the whole theoretical quantity at once. Standard practice, described by engineers in the Eng-Tips thread, is to order the theoretical amount rounded up to the nearest truck, then as the pour nears the end, measure what is actually left to fill and add to the order. The last truck is the hold load: it is dispatched but not committed, and you release it or cancel it based on what you see.
For small pours of one or two trucks there is no hold load to play with, so you round up to the nearest quarter or half yard and accept it. That is exactly why small pours carry a higher effective overage than large ones.
Leftover Concrete Is Not Free
There is a widespread assumption that returning concrete costs nothing. In some markets that is true and the plant recycles it into lock blocks or ecology blocks. In others, as one engineer pointed out in the Eng-Tips discussion, there is a disposal charge for concrete left in the transit mixer, which means you pay for the waste twice: once to buy it and once to get rid of it.
Find out which market you are in before you build a habit of over-ordering. Contractors in markets with disposal fees commonly keep small forms on the truck, pads, splash blocks, or block forms, so surplus gets placed instead of hauled.
Verify What Showed Up
Batch plants proportion by weight, not by volume, and contractors report suspected short loads often enough that it is worth a mention. Multiple threads on both Fine Homebuilding and ContractorTalk describe pours coming up short against careful calculations. The defenses are ordinary: keep your batch tickets, check yardage on the ticket against what you ordered, and when a pour comes up short against a takeoff you trust, say so before the truck leaves.
The reason this matters for estimating is feedback. If you never check, every shortage looks like a takeoff error and you quietly inflate your overage percentage to cover a problem that was not yours.
Order in Terms the Dispatcher Uses
Your order is not just a yardage. It is yardage, mix design and strength, slump, aggregate size, air entrainment, any admixtures, the pour start time, and the spacing between trucks. Trucks arriving faster than your crew can place them is how you get cold joints from the wrong direction. Trucks arriving too slowly is how you get them anyway. The spacing comes off your placement rate, which comes off your crew and your method, and it belongs in the takeoff notes while you still remember why you chose it.
Mistakes That Cost You Yards
Most concrete takeoff errors are not arithmetic. They are the same handful of judgment failures, and they repeat.
Using One Blanket Percentage for Everything
A single overage number applied to formed walls and bank-poured footings is wrong twice. It is too high on the formed work, which makes you uncompetitive on the part of the job that should be your tightest number. It is too low on the soil-cast work, which is where you actually lose money. Split your overage at minimum into formed and soil-cast.
Pricing Off Theoretical and Ordering Off Theoretical
Covered above but worth repeating because it is the expensive one. The drawings are right for pricing. The hole in the ground is right for ordering. When a footing was over-excavated, the trench in front of you is the real quantity, and ordering off the detail guarantees you come up short on a day when coming up short costs the most.
Forgetting the Pump
The pump line and hopper hold concrete that never reaches the forms, and it is a fixed amount per pour that your percentage does not cover. On a 60 yard pour a half yard is under 1 percent and disappears into overage. On a 6 yard pour it is over 8 percent and it is the difference between finishing and calling for another truck.
Double Counting at Intersections and Turndowns
Footing runs measured to outside corners overlap at every corner by the footing width. Thickened edges calculated as full prisms double count the slab thickness above them. Neither error is large on any one element, and both are systematic, which means they compound across the whole foundation in the same direction.
Radius Versus Diameter on Piers
Using the diameter where the formula wants the radius gives you exactly four times the correct volume. It survives review because the number looks plausible on a small pier count and nobody re-derives it.
Ignoring Subgrade Tolerance
The grading contractor's tolerance is a direct input to your concrete quantity. An eighth of an inch of low grade across a warehouse floor is yards of concrete that came out of your pocket. If subgrade is not in your scope, your bid should still reflect whose tolerance you are relying on, and your overage on slab work should be set by that answer rather than by habit.
Missing the Second Mix Design
Exterior flatwork in a freeze-thaw climate usually needs air entrainment that interior slabs do not. Footings and slabs often carry different compressive strengths. Totaling all the yardage into one number and pricing it at one rate is how a job comes in under on paper and over on invoices.
Leaving Accessories on the Drawing
Anchor bolts, hold-downs, dowels, chairs, vapor retarder, expansion joint material, sleeves, and embeds are individually small and collectively not. They are also almost entirely visible in the structural schedules, which means missing them is a reading failure, not an estimating one. Work the schedules line by line and check each one off.
Not Closing the Loop
The single biggest improvement available to most concrete estimators is free. Record theoretical yards against ordered yards on every pour, tagged by element type and subgrade contractor. After a season you stop using anyone else's percentages and start using your own, and your overage stops being a hedge and starts being a measurement.
Where Software Fits
Digital takeoff tools speed up the measuring and the arithmetic, which is where the tedium is, not where the judgment is. AI-assisted tools like Tectonic handle the material side of this, pulling quantities off plan sets and applying your markup for overhead and profit, so the estimator's time goes to the decisions that actually move the number: which overage applies to which element, what the subgrade is really going to hold, and whether the footing schedule matches the architectural plan. The math was never the hard part of a concrete takeoff. Knowing what the drawings do not tell you is.
Key Takeaways
- 1.Cubic yards equal length in feet times width in feet times thickness in inches divided by 324, and for footings dimensioned in inches, length in feet times width in inches times depth in inches divided by 3,888.
- 2.A 4 inch slab takes about 1.23 cubic yards per 100 square feet, so square footage divided by 81 is a reliable field check.
- 3.Overage should be split by element type: formed walls and columns run low, while footings cast against soil run high because excavation width, layout lines, and sloughing are all outside your control.
- 4.Practitioners report real pours landing anywhere from 2 percent over on tight prep to 10 or 15 percent on rough conditions, and no published industry standard exists to point a GC to.
- 5.Rebar is bought by weight: multiply linear feet by unit weight, where a #4 bar is 0.668 pounds per foot and a #5 is 1.043, then add 8 to 10 percent for laps.
- 6.Pricing a bid uses theoretical drawing dimensions, but ordering a specific pour uses the actual measured conditions in the ground.